Wood paneling has made a strong comeback in interior design. From rustic charm to modern minimalism, wood panels can elevate the look of any room. Whether you’re looking to add character to a living room, create a stylish feature wall, or refresh an old space, attaching wood panels to a wall is a straightforward DIY project that can be completed in a weekend. In this guide, we’ll walk you through everything you need to know to successfully attach wood panels to a wall.
Why Wood Paneling?

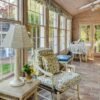
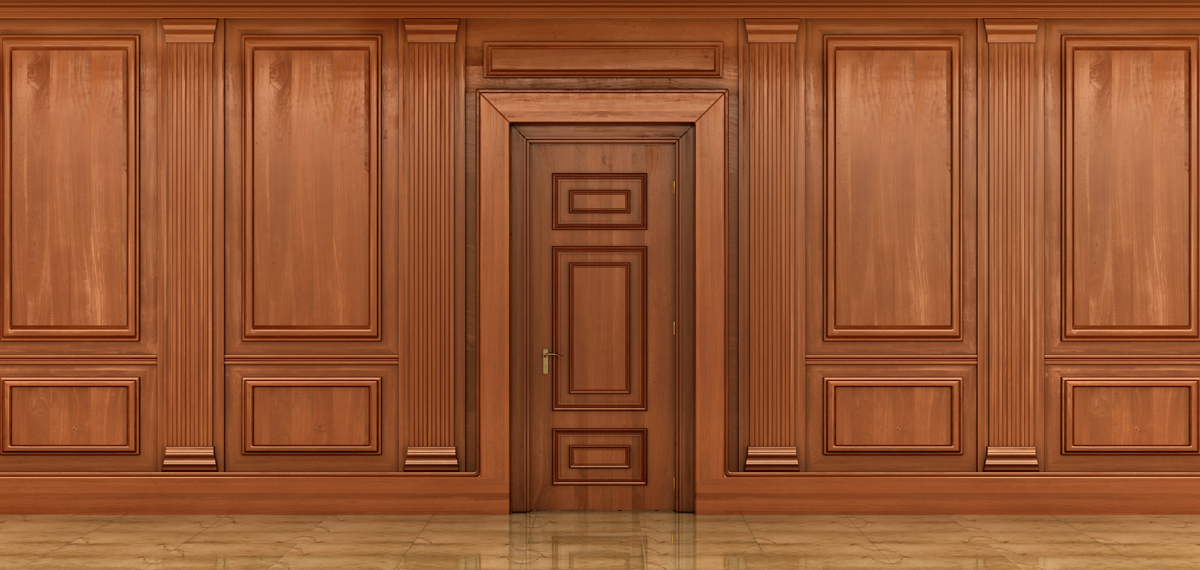
Wood paneling is an excellent choice for both aesthetic and practical reasons. It brings a natural, warm vibe to any space, enhancing its overall atmosphere and making it feel more inviting. The durability of wood ensures it can withstand the test of time, making it a long-lasting investment for your walls. Furthermore, wood paneling is incredibly versatile, offering endless design options—whether you’re aiming for a rustic farmhouse look, a modern minimalist style, or a more traditional design. From sleek, modern designs to classic choices like fluted wood panels, wood paneling can be customized to suit any room. It’s also easy to maintain with regular cleaning, and its ability to be stained, painted, or left in its natural state gives you full creative control over the final appearance.
Materials Needed
Before getting started, ensure that you have all the necessary tools and materials. Here’s a list of what you’ll need for the job:
- Wood Panels: Choose the type and size of the panels you want (e.g., tongue-and-groove, shiplap, reclaimed wood, or MDF).
- Measuring Tape: For accurate measurements and cutting.
- Level: To ensure your panels are installed straight.
- Saw: If you need to cut panels to fit your space.
- Hammer or Nail Gun: To secure the panels to the wall.
- Wood Screws: For additional support if needed.
- Stud Finder: To locate the studs behind the wall for secure panel attachment.
- Wood Glue (optional): For extra adhesion.
- Caulk or Wood Filler: To fill in any gaps.
- Safety Gear: Work gloves and safety glasses.
Step 1: Prepare the Wall Surface
Preparing your wall is an essential first step for successful wood panel installation. Begin by ensuring that the surface is clean, smooth, and free of debris. Any dust, dirt, or residue can prevent your panels from adhering properly, so it’s crucial to wipe down the wall with a mild detergent solution. If the wall has any existing wallpaper, old paint, or other coverings, these should be removed. Fill in any holes or imperfections using spackle or wall filler, then sand the surface to create an even texture. Once your wall is prepped, it will provide a stable foundation for the wood panels, ensuring a more secure installation.
Step 2: Plan the Layout of Your Panels
Before diving into the actual installation, take the time to plan your layout carefully. Start by measuring the dimensions of the wall, noting both the height and width, to determine how many panels you’ll need. If the panels need to be cut, decide where you’ll make the cuts to ensure they fit the space. It’s also a good idea to plan how the panels will be arranged, especially if you’re using patterned panels like tongue-and-groove or shiplap. Make sure the pattern flows naturally, and think about the placement of seams so that they are as discreet as possible. Planning ahead will save time and minimize mistakes during installation.
Step 3: Attach the Panels to the Wall
Once the wall is prepped and the layout is planned, you can begin installing the wood panels. Start at the bottom of the wall with the first panel, making sure it is level. Using a level ensures that the panels will be aligned properly as you work your way up the wall. For most paneling projects, nails or a nail gun will be used to secure the panels, but you can also opt for screws if more support is needed. Attach each panel to the wall studs, making sure you’re nailing into the studs for a solid hold. If you’re working with tongue-and-groove or shiplap panels, be sure to interlock the edges as you go to maintain a seamless look. Keep working your way up the wall, ensuring each new panel is aligned and secured properly.
Step 4: Fill Gaps and Seams
After the panels are installed, you’ll likely notice small gaps or seams between them, especially if they were cut to fit. To achieve a clean, seamless look, fill these gaps using wood filler or caulk. Apply the filler carefully with a putty knife, smoothing it into the gaps until the surface is even. Allow the filler to dry completely before sanding it smooth. If necessary, you can touch up the filled areas with paint or stain to match the rest of the panels. Filling gaps not only improves the appearance of your paneling but also prevents dirt and dust from collecting in between the boards, which can make cleaning more difficult later on.
Step 5: Finishing Touches
The final step in your wood paneling installation is to add those finishing touches that will give your wall a polished, professional appearance. Trim and baseboards can be installed along the edges of the wall to cover any uneven gaps and create a clean, framed look. Additionally, if your panels are unfinished, you may want to stain or paint them to enhance the wood’s natural beauty or to match your room’s décor. Consider applying a protective finish or sealer to safeguard the wood from moisture, stains, and wear over time. These finishing details will make all the difference in the overall aesthetic, giving your newly paneled wall a refined, completed look.

Tips for Successful Wood Panel Installation

- Choose the Right Wood: Different types of wood can give your wall a unique look. Oak, pine, cedar, and reclaimed wood are all popular choices. Consider the style of your room before deciding on the type of wood.
- Use a Level: Accuracy is key to a professional-looking installation. Always use a level when attaching panels to ensure they are straight.
- Take Your Time: Don’t rush the installation process. Take your time to measure, cut, and install each panel carefully for the best results.
- Be Mindful of the Wood’s Grain: If you’re working with natural wood, consider how the grain will look on the wall. Arrange the panels so the grain flows consistently, especially if you’re using planks of different lengths.
Common Mistakes to Avoid
- Not Finding the Studs: Securing wood panels only into drywall can lead to weak adhesion and potential sagging. Always find the studs and attach panels directly to them.
- Inaccurate Measurements: Double-check your measurements before cutting panels or attaching them to the wall. It’s better to take the time to get it right than have to redo it later.
- Skipping Surface Prep: Don’t skip cleaning and prepping the wall. A dirty or uneven wall can cause panels to shift or peel away over time.
Conclusion
Attaching wood panels to a wall is an enjoyable and rewarding DIY project that can transform the look and feel of any room. With careful planning, the right materials, and attention to detail, you can achieve a beautiful wood-paneled wall that enhances the overall aesthetic of your space. Whether you’re a seasoned DIY enthusiast or just starting out, this step-by-step guide will help you complete the task with confidence and ease.